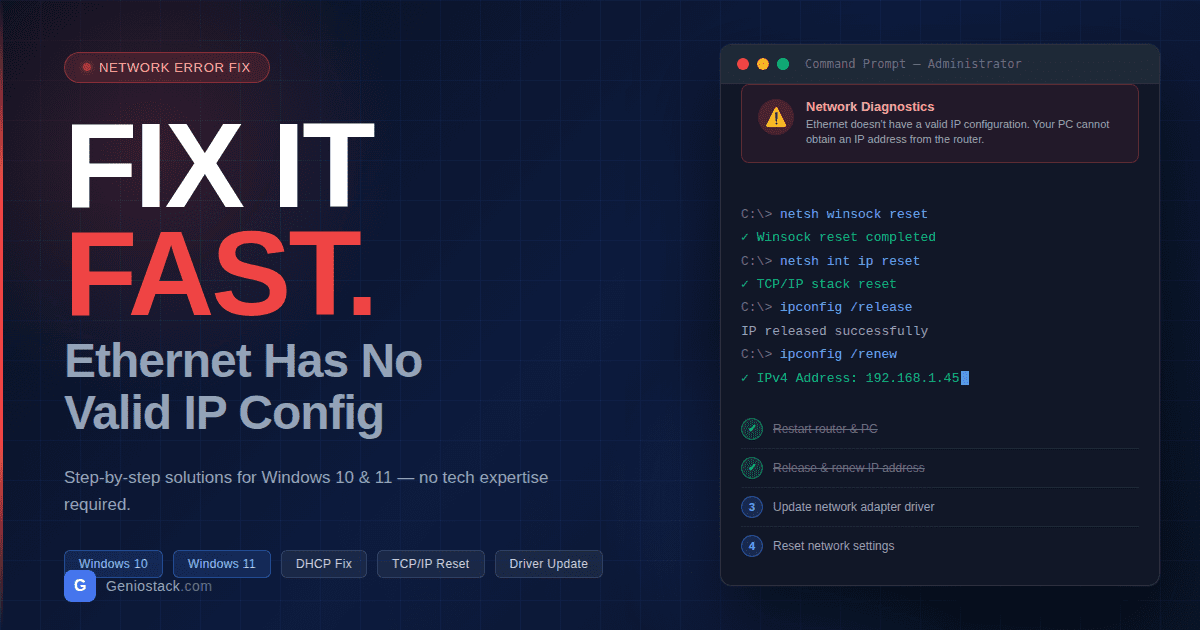
“Ethernet doesn’t have a valid IP configuration” means your PC cannot obtain a proper IP address from your router or DHCP server. This blocks your internet access entirely. The fix usually involves releasing and renewing your IP address, resetting TCP/IP, or updating your network adapter driver – most users resolve it in under five minutes.
Table of Contents
Why This Error Is More Common Than You Think
You plug in your Ethernet cable, open your browser, and nothing loads. You check the network icon in your taskbar and see that dreaded yellow triangle or red “X.” When you run Windows Network Diagnostics, it spits out one line: “Ethernet doesn’t have a valid IP configuration.”
Frustrating? Absolutely. But here’s the good news—this is one of the most fixable network errors on Windows.
This guide covers every proven solution for this issue, whether you’re on Windows 10 or Windows 11, using a desktop or laptop, or dealing with this error after an update, a restart, or out of nowhere. We’ll walk through each fix step by step, starting with the fastest and working toward the more advanced.
By the end, your connection will be back—and you’ll understand exactly why this happened so you can prevent it next time.
What Does “Ethernet Doesn’t Have a Valid IP Configuration” Actually Mean?
When your computer connects to a router, it needs a valid IP address to communicate on the network. Normally, your router’s DHCP (Dynamic Host Configuration Protocol) server automatically assigns one.
When that process fails — due to a software glitch, corrupted settings, outdated drivers, or router issues — Windows reports that your Ethernet adapter “doesn’t have a valid IP configuration.”
In plain English: Your PC showed up to the network party, but nobody gave it a name tag.
Key Insight: This error is almost always a software or configuration problem, not a hardware failure. Your cable, router, and adapter are likely fine.
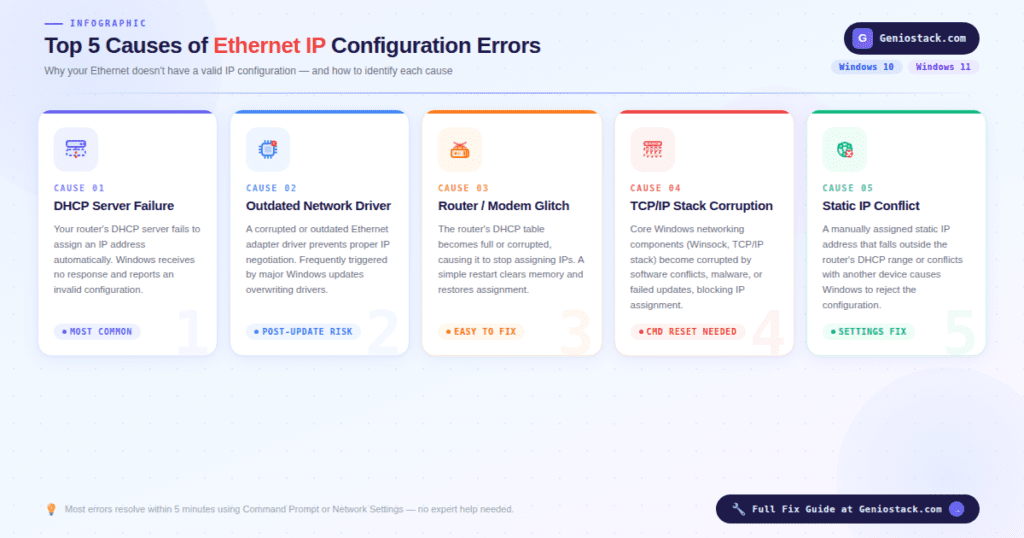
Common Causes of This Ethernet IP Error
Understanding the cause helps you pick the right fix faster. Here are the most frequent culprits:
- DHCP service failure—Windows couldn’t automatically fetch an IP address from your router
- Corrupted TCP/IP stack—Core networking components got misconfigured
- Outdated or corrupted network adapter driver—Especially common after Windows updates
- Static IP misconfiguration — A manually set IP that conflicts with your network
- Router or modem glitch—The device assigning IPs got stuck
- Third-party security software — Firewalls or VPNs that interfere with IP assignment
- Recent Windows update—Updates occasionally break network adapter settings
How to Fix Ethernet Doesn’t Have a Valid IP Configuration (Step-by-Step)
Work through these fixes in order. Most users solve the problem within the first two or three methods.
Fix 1: Restart Your Router and Computer
Before touching any settings, try the simplest fix first.
- Unplug your router and modem from the power outlet
- Wait 30 seconds (this clears the internal memory)
- Plug your modem back in first, wait 30 seconds, then plug in your router
- Restart your Windows PC
- Reconnect the Ethernet cable and check your connection
Pro Tip: Hold the power button on your router for 10 seconds instead of just unplugging — some models have capacitors that keep running briefly after disconnection.
This resolves the issue roughly 30–40% of the time, according to community reports on Microsoft’s support forums, because it forces both devices to renegotiate the connection cleanly.
Fix 2: Release and Renew Your IP Address (Command Prompt)
This is the most effective and widely recommended fix for “doesn’t have a valid IP configuration Ethernet” errors.
- Press Windows + S, type cmd
- Right-click Command Prompt → select Run as administrator
- Type the following commands one at a time, pressing Enter after each:
netsh winsock reset
netsh int ip reset
ipconfig /release
ipconfig /flushdns
ipconfig /renew- Restart your computer after the commands complete
What this does:
netsh winsock reset— Repairs the Windows network socketnetsh int ip reset— Resets the TCP/IP stack to defaultipconfig /release— Drops the current (broken) IP assignmentipconfig /flushdns— Clears old DNS recordsipconfig /renew— Requests a fresh IP from your router
This sequence fixes the majority of cases where Ethernet doesn’t have a valid IP configuration in Windows 10 and Windows 11.
Fix 3: Set Your IP Address to Automatic (DHCP)
If someone manually set a static IP on your adapter — or a program did — it can conflict with your router’s settings.
- Press Windows + R, type
ncpa.cpl, press Enter - Right-click your Ethernet adapter and select Properties
- Double-click Internet Protocol Version 4 (TCP/IPv4)
- Select “Obtain an IP address automatically.”
- Select “Obtain DNS server address automatically.”
- Click OK → OK again
- Restart your PC
Important Note: If you were using a custom DNS (like Google’s 8.8.8.8), you can re-add it after confirming the IP issue is resolved.
Fix 4: Update or Reinstall Your Network Adapter Driver
An outdated or corrupted driver is a leading cause of Ethernet 2 doesn’t have a valid IP configuration errors, especially after major Windows updates.
To update the driver:
- Press Windows + X → select Device Manager
- Expand Network Adapters
- Right-click your Ethernet adapter (e.g., “Realtek PCIe GbE Family Controller”)
- Select Update driver → Search automatically for drivers
- Restart your PC after the update
If updating doesn’t work — try reinstalling:
- In Device Manager, right-click the Ethernet adapter
- Select “Uninstall device” and check “Delete the driver software for this device.”
- Restart Windows—it will reinstall the driver automatically
- If it doesn’t reinstall, visit your PC or motherboard manufacturer’s website to download the latest driver manually
Pro Tip: For laptops, always check the manufacturer’s support page (Dell, HP, Lenovo, and ASUS) for drivers rather than relying solely on Windows Update—they’re often more current and optimized.
Fix 5: Disable and Re-enable the Ethernet Adapter
Sometimes the adapter just needs a quick reset without a full driver reinstall.
- Press Windows + X → Device Manager
- Expand Network Adapters
- Right-click your Ethernet adapter → Disable device
- Wait 10 seconds
- Right-click it again → Enable device
- Check your connection
Alternatively, do this from Network Connections (ncpa.cpl) by right-clicking the adapter and choosing Disable, then Enable.
Fix 6: Change the Network Adapter’s Power Management Settings
Windows sometimes powers down the Ethernet adapter to save energy — and it doesn’t always wake it up properly.
- Open Device Manager → Network Adapters
- Right-click your Ethernet adapter → Properties
- Click the Power Management tab
- Uncheck “Allow the computer to turn off this device to save power.”
- Click OK and restart
This fix is particularly effective for Ethernet that doesn’t have a valid IP configuration for Windows 11 users on laptops.
Fix 7: Run the Windows Network Troubleshooter
While the built-in troubleshooter doesn’t always fix the issue, it occasionally resets the configuration automatically and is worth trying.
Windows 10: Settings → Update & Security → Troubleshoot → Internet Connections → Run the troubleshooter
Windows 11: Settings → System → Troubleshoot → Other troubleshooters → Internet Connections → Run
If it detects and fixes the issue, great. If it says “couldn’t fix the problem,” use the other fixes above.
Fix 8: Reset TCP/IP and Network Settings Completely (Nuclear Option)
If nothing else has worked, a full network reset is your last resort before considering hardware issues.
Windows 11 (built-in reset):
- Settings → Network & Internet → Advanced network settings
- Scroll down → Network reset
- Click Reset now → confirm
Windows 10:
- Settings → Network & Internet → Status
- Scroll down → Network reset
- Click Reset now
Important Note: This removes all saved Wi-Fi passwords and VPN configurations. You’ll need to reconnect to networks manually afterward.
After the reset, your PC will restart and reinstall all network adapters fresh — this resolves even deeply corrupted network stacks.
Quick Reference: All Fixes at a Glance
| Fix | Difficulty | Time Needed | Best For |
|---|---|---|---|
| Restart router & PC | Easy | 2 min | First attempt |
| Release/renew IP (CMD) | Easy | 3 min | Most common cause |
| Set IP to automatic | Easy | 2 min | Static IP conflict |
| Update/reinstall driver | Medium | 5–10 min | Post-update errors |
| Disable/enable adapter | Easy | 1 min | Quick adapter reset |
| Power management fix | Easy | 2 min | Laptop/sleep issues |
| Windows Troubleshooter | Easy | 3 min | Automated detection |
| Network reset | Medium | 5 min | Last resort |
How to Fix Ethernet Doesn’t Have a Valid IP Configuration — Prevention Tips
Once you’ve solved it, here’s how to keep it from coming back:
- Keep Windows updated — Many driver fixes come through Windows Update
- Don’t set static IPs unless you know your network’s address range precisely
- Restart your router monthly — Prevents DHCP table corruption over time
- Avoid aggressive firewall software that blocks DHCP communication
- Check for driver updates after major Windows updates — They sometimes overwrite network drivers
Conclusion: You’ve Got This
“Ethernet doesn’t have a valid IP configuration sounds technical and intimidating — but as you’ve seen, it almost always comes down to a simple IP assignment failure that a few commands or settings changes can fix.
Here’s your quick action plan:
- Restart your router and PC first
- Run the Command Prompt IP reset commands
- Ensure your IP is set to automatic (DHCP)
- Update or reinstall your network adapter driver if needed
- Use a full network reset as a last resort
Whether you’re troubleshooting on Windows 10 or Windows 11, these fixes cover every scenario. Bookmark this page so you have it ready next time — network hiccups happen to everyone.
For more in-depth networking help, check out Microsoft’s official network troubleshooting documentation and the Realtek driver support page for driver downloads.